728x90
반응형
스토리보드에 TableView 하나를 추가합니다.

그 다음에 테이블 뷰 안에

이 Table View Cell 이라는 녀석을 드래그해서 넣어주세요.
해당 Cell안에

이런식으로 2개의 라벨을 좌우에 각각 배치했습니다. (원하시는 대로 이미지뷰를 배치해도 좋습니다.)


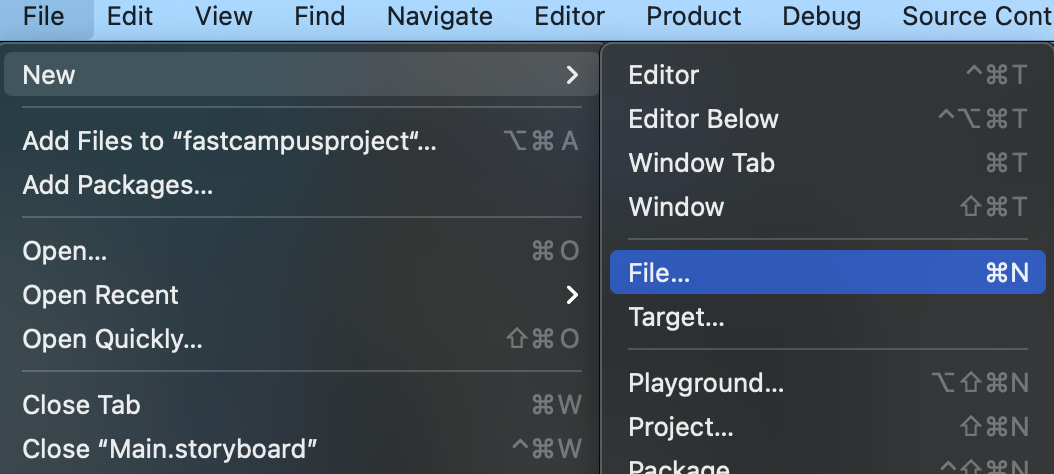
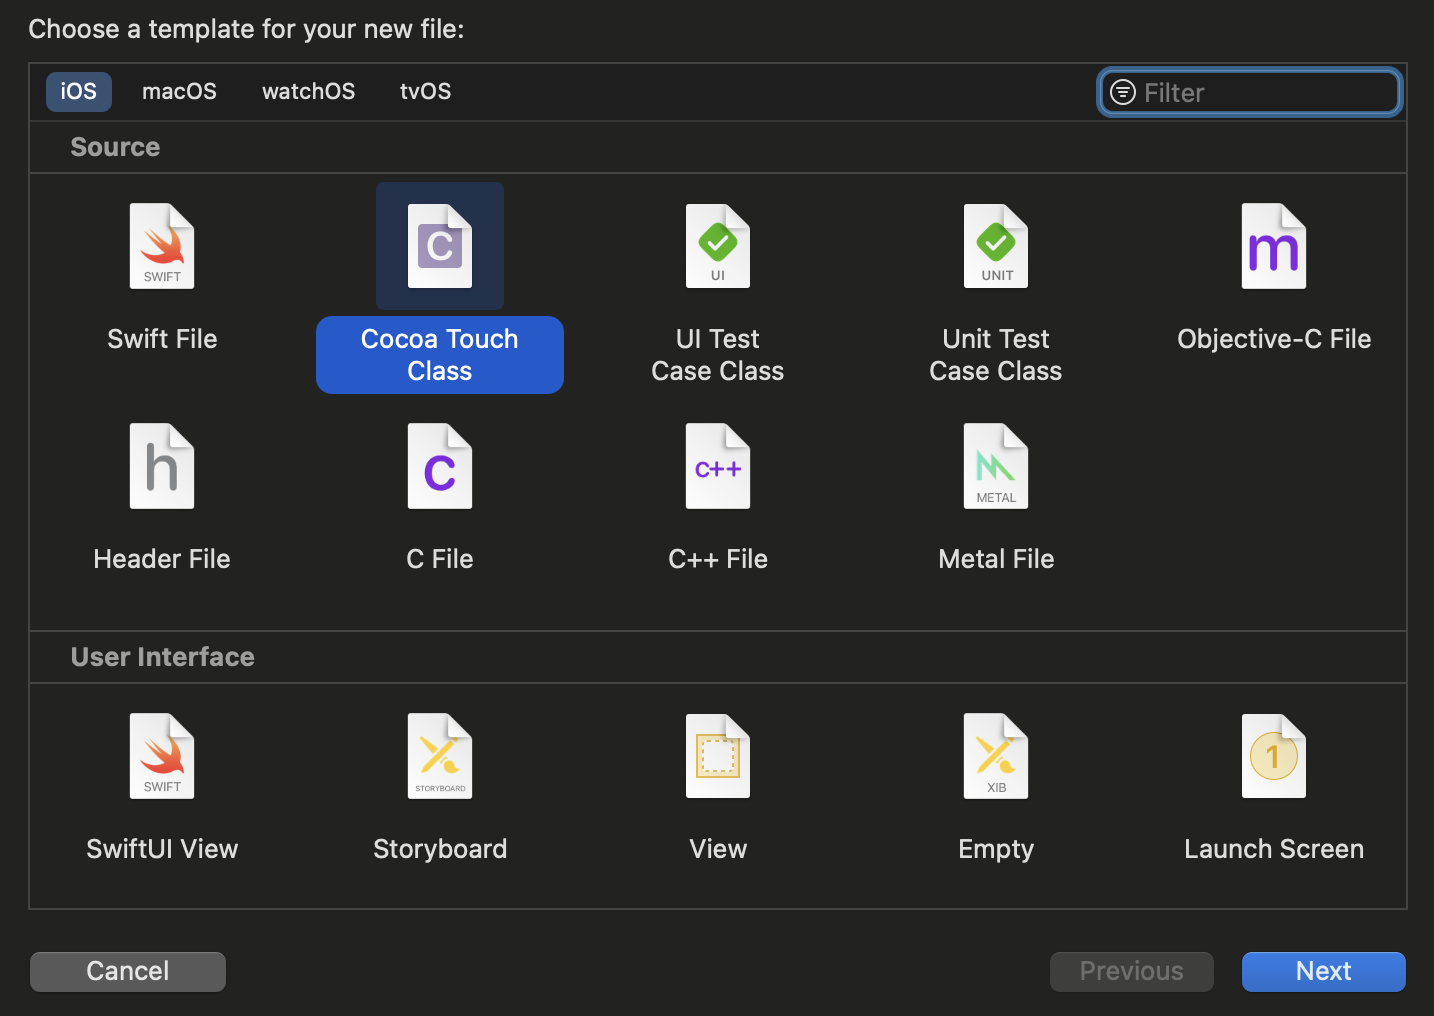
위 방법처럼 Cocoa Touch Class 하나 만들어주겠습니다.

이런식으로 라벨을 IBOulet 연결해줍니다.
다음은 메인소스 입니다.
import UIKit

class ViewController: UIViewController {

    @IBOutlet weak var myTableView: UITableView!

    let tableViewData1 = ["1","2","3","4","5","6","7","8","9","10","11","12"]
    let tableViewData2 = ["첫번째","두번째","세번째","네번째","다섯번째","여섯번째","일곱번째","여덞번째","아홉번째","열번째","열한번째","열두번째"]

    override func viewDidLoad() {
        super.viewDidLoad()

        myTableView.delegate = self
        myTableView.dataSource = self

    }
}

extension ViewController : UITableViewDelegate{

}

extension ViewController : UITableViewDataSource{
    func tableView(_ tableView: UITableView, numberOfRowsInSection section: Int) -> Int {
        return tableViewData1.count
    }

    func tableView(_ tableView: UITableView, cellForRowAt indexPath: IndexPath) -> UITableViewCell {
        //테이블뷰의 데이터를 뿌려주는 함수
        let cell: MyTableViewCell = tableView.dequeueReusableCell(withIdentifier: "MyTableViewCell", for: indexPath) as! MyTableViewCell

        cell.myLabel.text = tableViewData1[indexPath.row]
        cell.myLabel2.text = tableViewData2[indexPath.row]

        return cell
    }

    func tableView(_ tableView: UITableView, didSelectRowAt indexPath: IndexPath) {
        //클릭한 셀의 이벤트 처리
        tableView.deselectRow(at: indexPath, animated: true)

        print("Click Cell Number: " + String(indexPath.row))

        print("Click Cell Value1: " + tableViewData1[indexPath.row])
        print("Click Cell Value2: " + tableViewData2[indexPath.row])
    }
}
보여주기 위한 하드코딩입니다.
나중에는 해당 배열을 서버같은곳에서 받아오셔서 뿌리는 작업을 하셔도 됩니다.

이런식으로 리스트가 완성됬습니다.
728x90
반응형
'IOS' 카테고리의 다른 글
| Swift 키보드 상태 감지 하기 (0) | 2021.12.06 |
|---|---|
| Xocde sceneDelegate 사용하지 않고 AppDelegate 사용 유지하기 (0) | 2021.11.01 |
| iOS Swift AVPlayer를 이용해서 로컬 사운드를 재생해보자. (0) | 2021.10.01 |
| Xcode Errors 'GoogleUtilities/GULSceneDelegateSwizzler.h' file not found 해결법 (0) | 2021.09.09 |
| Xcode Errors were encountered while preparing your device for development. Please check the Devices and Simulators Window. 해결 (0) | 2021.09.06 |
댓글